
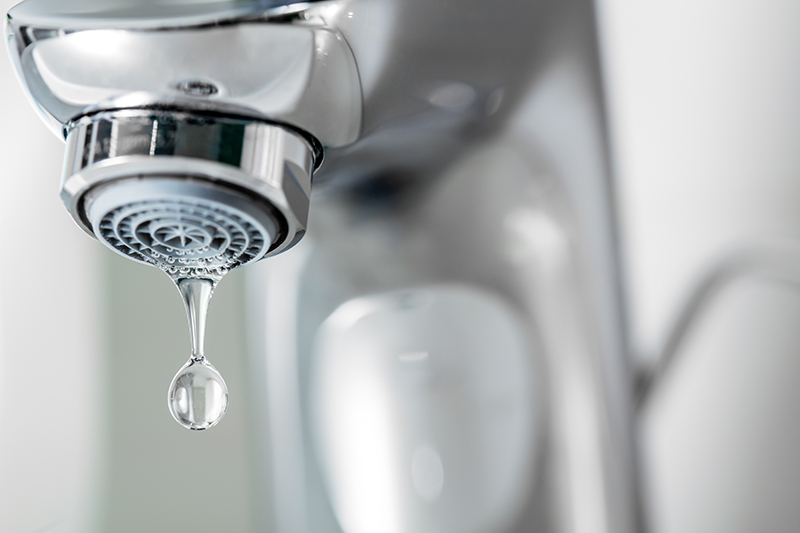
Did you know that a leaking faucet with even a slow drip can waste 15 to 20 gallons of water per day? If you have a leaky pipe or faucet, you should get it repaired as soon as possible, since it is literally “money down the drain.”
The first step in fixing a leaking or dripping faucet is identifying which of the two basic types of faucets you have, a compression faucet or a washer-free faucet. Compression faucets have an older design with two handles, one each for hot and cold water. Washer-free faucets have a more contemporary design, usually with a single lever or knob in the center that controls the flow and mix of hot and cold water.
Washer-free faucets may be one of several types: disc, valve, ball or cartridge. Because models vary with the manufacturer, it’s important to know what type of faucet you have in order to obtain identical replacement parts. It’s always safest to take your old faucet with you to the hardware store so that you can show the hardware salesman exactly what you are replacing.
Before working on the faucet, you will want to turn off the water at your water meter, if possible. This will make is safe for you in case an old pipe breaks or springs a leak. You can also try just turning off the water flow underneath the sink, too. There is a little valve you can twist with your hand (counterclockwise) to turn it off.
When you’re disassembling the faucet, you should lubricate any stubborn connections with penetrating oil before trying to loosen them with a wrench. Tape the wrench’s jaws to prevent marring visible parts of the fixture. Before starting any faucet repair, plug the sink so smaller parts can’t fall down the drain. Line the sink with a towel to prevent damage from tools or parts accidentally dropped.
As you disassemble the faucet, line up the pieces in the order that you removed them so you can assemble them properly.
Cornerstone Plumbing will be happy to help you with a free estimate.


Leave A Comment